Kiwis have embraced DIY since the early European settlers, fostering a love for home renovations.
If you enjoy building things yourself like a true Kiwi DIY-er, you’ll love the thrill of constructing your own sauna at home with a DIY sauna kit.
Key Takeaways:
- Building your own sauna at home is easier than you think, especially with a DIY sauna kit designed for Kiwi homes.
- Whether you choose an electric, wood, or infrared heater, there are options for every budget and setup.
- Proper preparation, materials, and clear step-by-step assembly will help you enjoy a relaxing, traditional Finnish sauna experience.
Ready to get started straight away? Here’s a video of how to assemble Shym Saunas’ 2.4m Square Cedar Barrel Sauna with Firewood Heater.
Why Build Your Own Sauna with a DIY Sauna Kit?
Opting for a DIY sauna kit simplifies the building process and offers several benefits:
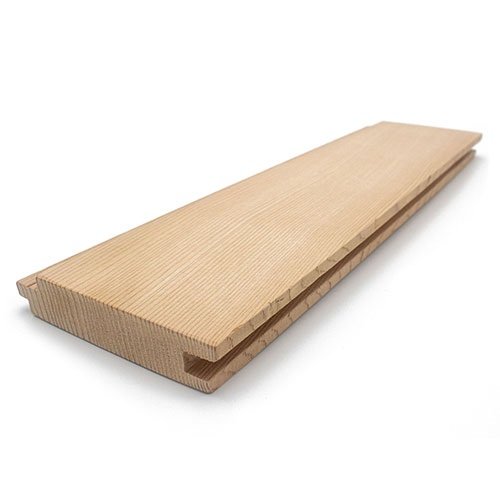
- Ease of Assembly: Kits come with pre-cut lumber and detailed instructions, making the process straightforward.
- Time-Saving: With materials prepared, you can assemble your sauna in less time compared to building from scratch.
- Professional Design: Enjoy the confidence of a design crafted by experts, ensuring safety and optimal performance.
- Customization Options: Many kits offer customizable features like heater types, wood finishes and additional accessories such as shingles and LED lights.
Choosing the Right Sauna Kit in New Zealand

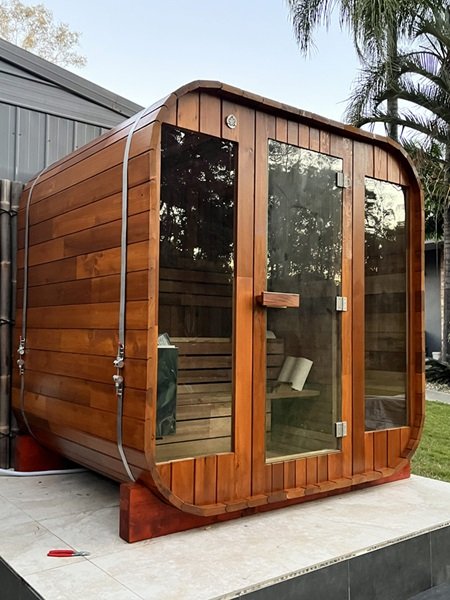
Before you start building your own sauna, it’s crucial to choose the right sauna kit. The most popular options for Kiwis are barrel saunas, but you’ll find several types in the market:
DIY Sauna Kits
- Pros: Simplifies the building process, as kits come with pre-cut materials and instructions. Great for first-time builders.
- Cons: Limited customization compared to building from scratch.
Ideal For: Those who want a straightforward project and are comfortable following assembly guides.
Custom Builds
- Pros: Full control over design, materials, and size. You can create a truly unique sauna.
- Cons: Requires more time, tools, and advanced DIY skills.
- Ideal For: Experienced DIYers who want a personalized sauna.
Estimating Costs
Building your own sauna in New Zealand can cost:
- From NZD $6,500 and more for a small DIY assembly barrel saunas
- From NZD $7,600 for a building a small sauna yourself
- About NZD $10,800 (or more!) for a custom-built sauna
- Professional Assistance: Hiring tradespeople for tasks like electrical work can add NZD 500 to NZD 1,500 to your budget.
Preparing to Build Your Own Sauna
Once you’ve chosen your sauna kit, it’s time to prep the location. Whether you’re planning an indoor or outdoor sauna, consider these factors:
Indoor or Outdoor?
- Indoor Saunas: If you opt for an indoor sauna, make sure to install it in an area that’s easy to access, like a bathroom or basement. Indoor saunas are ideal for those who prefer convenience and year-round use.
- Outdoor Saunas: Outdoor saunas bring you closer to nature. Imagine sitting in the warmth, looking out into your backyard after a long day. Just make sure you have a level ground and enough space.
Read our guide: Indoor vs Outdoor Sauna: Which One is Fit For You?
Size and Layout Considerations
Think about how many people will be using your sauna. A 4-person sauna may suit a family, while an 8-person sauna is better for entertaining friends. Make sure to leave enough room for benches and comfortable movement.
Tools and Materials You Need
A DIY sauna project doesn’t require highly specialized tools, but there are essentials you should have on hand:
- Tools Needed: Power drill, level, measuring tape, and screwdriver.
Step-by-Step Guide: How to Build Your Own Sauna with a DIY, Precut Sauna Kit
Step 1: Unpacking and Inventory
- Unpack Your Kit: Carefully unpack all components and lay them out.
- Check the Inventory List: Ensure all parts and hardware are accounted for as per the supplier’s checklist.
- Familiarize Yourself with the Instructions: Read through the entire assembly manual provided.
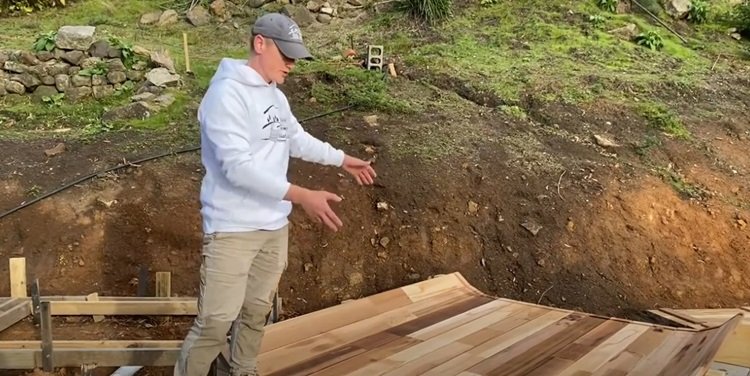
Step 2: Prepare the Foundation
- Select Location: Choose a level spot, whether indoor or outdoor, with sufficient space.
- Foundation Options:
- Outdoor Saunas: Install on a concrete slab, pavers, or a sturdy deck. Ensure the base is level and can support the sauna’s weight.
- Indoor Saunas: Verify that the floor can handle the sauna’s weight. A waterproof surface-like tile is ideal.
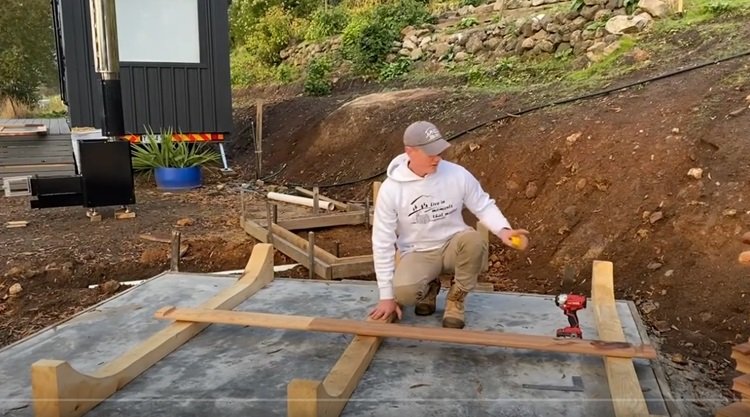
Step 3: Assemble the Base Frame
- Lay Out Cradles or Support Beams: Position the floor supports as per the instructions.
- Secure Base Components: Attach the base panels or floorboards to the supports, ensuring everything is level.
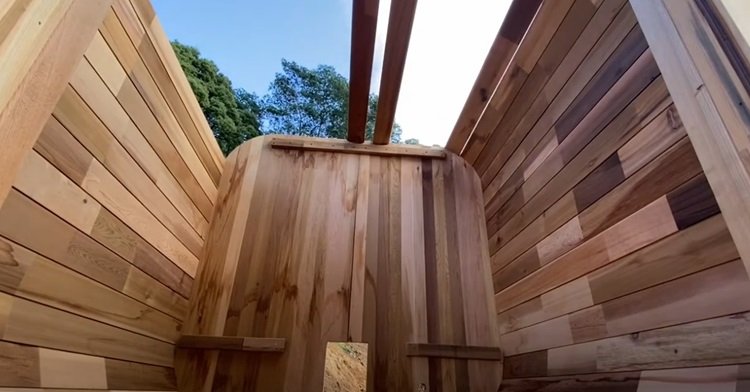
Step 4: Build the Sauna Walls

- Start with the Bottom Staves:
- Place the first wall panels or staves onto the base.
- For barrel or square designs, ensure the initial staves are properly seated in any grooves or notches.
- Add Wall Panels/Staves Sequentially:
- Work your way up, adding panels or staves on both sides evenly.
- Use the provided hardware to secure pieces as instructed.
Step 5: Install the Front and Back Walls
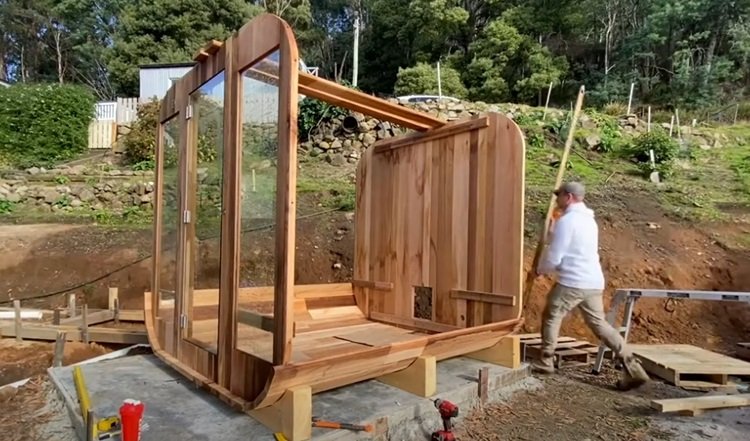
- Assemble Wall Sections Flat:
- Lay the front and back wall panels on a flat surface.
- Attach any windows, doors, or vents as required.
- Raise and Secure Walls:
- With assistance, lift the walls into position.
- Ensure they fit snugly with the side walls and secure them using the provided hardware.
Step 6: Install the Roof
- Place Roof Panels or Beams:
- Depending on the design, attach roof supports or place the roof panels on top of the walls.
- Secure Roofing Material:
- Attach shingles, metal roofing, or other materials as per the kit instructions.
- Ensure the roof is watertight to protect against NZ’s varied weather.
Step 7: Install the Heater
- Position the Heater:
- Place the heater in the designated spot, maintaining required clearances from walls and benches.
- Follow Manufacturer Instructions:
- For electric heaters, have a licensed electrician make the connections.
- For wood-burning heaters, install chimney components as instructed, ensuring proper ventilation.
Step 8: Install Benches and Interior Accessories
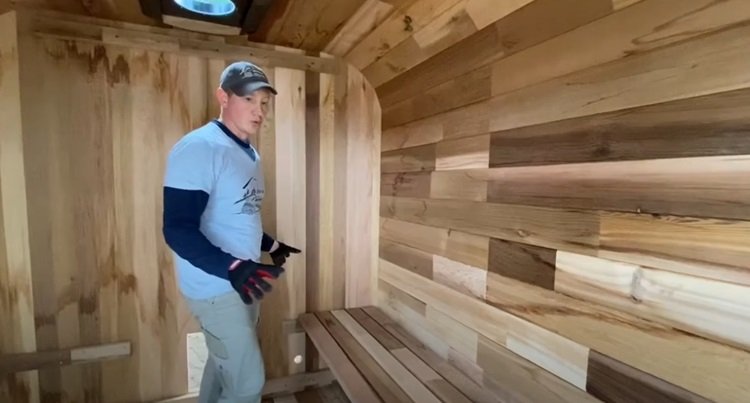
- Assemble Benches:
- Use the pre-cut bench components to build seating.
- Secure benches to the walls or floor as per instructions.
- Add Accessories:
- Install backrests, headrests, lighting fixtures, and any decorative elements included in your kit.
Step 9: Finish Exterior and Apply Sealants
- Weatherproofing (For Outdoor Saunas):
- Apply any stains, sealants, or protective coatings recommended by the manufacturer.
- Inspect Seams and Joints:
- Ensure all external joints are sealed to prevent moisture ingress.
Step 10: Final Checks and Testing
- Inspect the Sauna:
- Walk around and inside the sauna to check for loose components or gaps.
- Test the Heater:
- For electric heaters, run a test session following safety guidelines.
- For wood heaters, perform a burn-in outside before installing to remove any manufacturing residues.
Safety Tips When Assembling and Using Your Sauna
- Follow Instructions Carefully: Adhere strictly to the assembly manual provided with your kit.
- Use Proper Tools: Ensure you have the correct tools for the job to avoid injury or damage.
- Heater Safety: Maintain clearances and use heat shields if required.
- Ventilation: Do not obstruct vents; proper airflow is essential for safety and performance.
- Electrical Work: Always use a licensed electrician for any electrical installations.
Maintenance and Care for Your Sauna
- Regular Cleaning: Wipe down benches and floors after use to prevent buildup of sweat and moisture. Here’s how often should you clean your sauna
- Wood Care: Treat interior wood surfaces with sauna-safe protectants if recommended.
- Inspect Components: Periodically check for wear and tighten any loose hardware.
Legal Requirements and Regulations in NZ
Building Consents
- Council Approval: Even with a kit, outdoor structures may require consent from your local council. Check before you begin.
- Compliance with NZ Building Code: Ensure your assembly follows safety standards, especially regarding structural integrity.
Electrical and Heating Regulations
- Licensed Electrician: Electrical connections for heaters and lighting must be performed by a registered electrician.
- Safety Standards: Installations should comply with the New Zealand Electrical Code of Practice.
Next Steps: Start Your Sauna Journey
Now that you have a clear understanding of how to assemble your DIY sauna kit, here are some actionable steps:
- Choose Your Kit: Explore options from reputable suppliers like Shym Saunas, considering size, design, and features.
- Plan Your Project: Set aside time for assembly, and arrange for any help you might need.
- Prepare Your Space: Ensure the chosen location is ready for installation.
- Gather Necessary Tools: Check the kit’s instructions for required tools and make sure you have them on hand.
- Connect with Experts: Don’t hesitate to contact the supplier with any questions or for assembly support.
The Joy of a Home-Built Sauna

Building your own sauna in your NZ home isn’t just about adding value to your property; it’s about adding value to your life. The satisfaction of creating your own space to unwind and relax is unmatched. Whether you’re using an electric or wood heater, the soothing heat of a home sauna is just what you need to shake off a tough day and enjoy some “me time.”
Wrapping Up
Assembling your own sauna using a DIY kit is a fulfilling project that combines the satisfaction of hands-on work with the luxury of a personal wellness retreat. With pre-cut materials and detailed instructions, even those new to DIY can successfully complete the project. Remember to consider costs, legal requirements, and safety precautions to ensure a smooth process. So embrace your inner Kiwi DIY-er, and soon you’ll be unwinding in the warm embrace of your very own sauna. Happy building!
Additional Resources:
- Assembly Video: Watch Shym Saunas’ Assembly Video for a visual step-by-step guide.
- 10 Best Sauna DIY Kits for Your Home
- Best Outdoor Saunas: Ranked 2024
- Sauna Insulation Made Easy: Best Materials + Tips and Tricks
- Sauna Wood Types: What Wood to Use in a Sauna?
- Sauna Wood Treatment: How to Treat Your Sauna?
- Local Regulations: Visit the New Zealand Building Authority for information on building consents and codes.
Join communities like r/sauna to share experiences and tips or subscribe to our newsletter to get the best DIY tips for building your own sauna!